

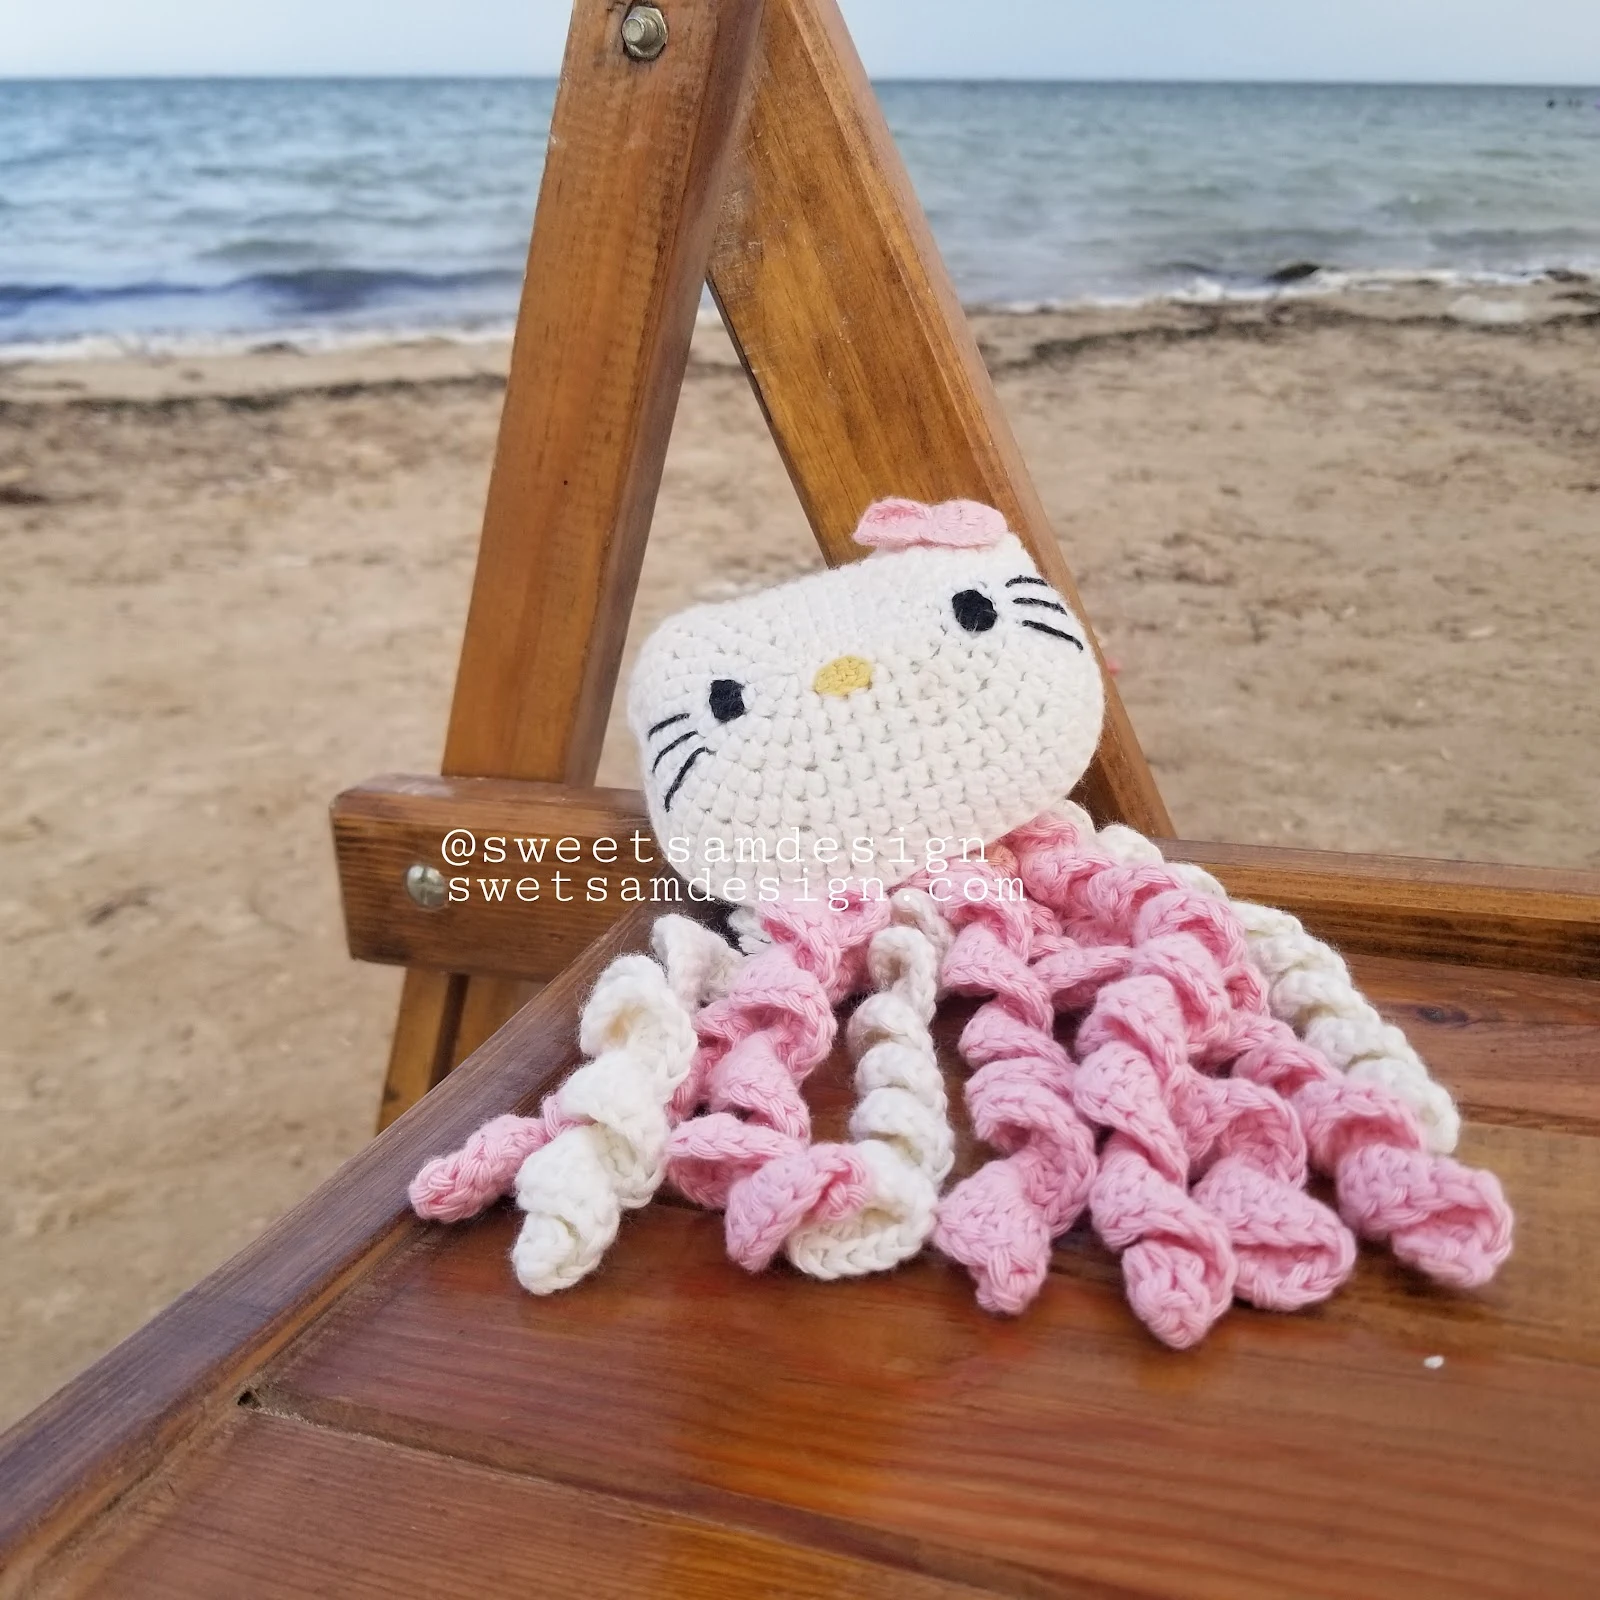
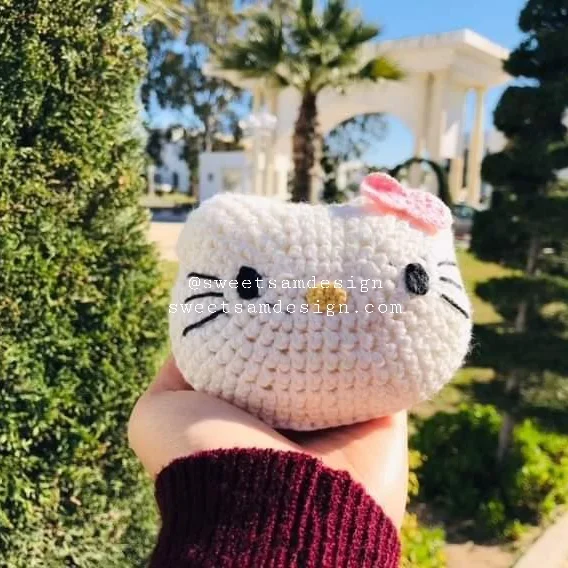
It is made with the technique of Amigurumis and stuffed with polyfill. The pattern is easy to follow, ideal for beginners. You can crochet Hello Kitty from any other yarn using the referenced hook for that yarn. The only difference will be in height.
With free charts and step-by-step instructions, wish you can enjoy the fun of crocheting.
The pattern is free below, or you can purchase the printable, ad-free version from my Ravelry Shop HERE
Materials
♥ Yarn of your choice in 4 colors A, B, C and D,♥ Hook to match your yarn,
♥ Scissors,
♥ Needle.
Stitches
Abbreviations
A, B, C, D = Color A, B, C, D; beg = beginning ; st(s) = stitch(es); mc= magic circle; sl st = slip stitch; ch(s) = chain(s); sc = single crochet; sc2tog : single crochet 2 together; dc = double crochet; dtr = double treble crochet; [ ] = work directions in brackets the number of times specified.Written instructions
Face (make 2)
Note:The face is crocheted in spiral. To make the face pattern clear and easy to follow, I divided it into rounds. With A, ch 6.
Round 1: Ch 1, 2 sc in the 2nd ch from hook, sc in each of next 4 chs, 6 sc in last ch, turn sideways and continue along other side of the foundation ch, sc in each of next 4 ch, 3 sc in 5th ch. (20 sts)
Round 2: sc in each st of previous round. (20 sts)
Round 3: inc in first sc of previous round, inc 2, sc 4, inc 6, sc 4, inc 3. (32 stitches)
Round 4: sc in each st of previous round. (32 sts)
Round 5: [sc, inc] 3times, [sc 4, [inc, sc] 3 times]*, [sc, inc ] 3 times, repeat * 1 time. (44 sts)
Round 6: sc in each st of previous round. (44 sts)
Round 7: [sc, inc, sc] 3 times, sc 4, [sc, inc, sc] 6 times, sc 4, [sc, inc, sc] 3 times. (56 sts)
Round 8: sc in each st of previous round (56 sts), sl st in the 1st st of previous round and in next 2 sts.
So an oval is made and you are ready to work the ears across the top edge of this oval.
Row 1: skip one st, sc 6, sc2tog in the next two sts.
Row 2: ch 1, turn, skip one st, sc 4, sc2tog in the next two sts.
Row 3: ch 1, turn, skip one st, sc 2, sc2tog in the next two sts.
Row 4: ch 1, turn, skip one st, sc2tog in the next two sts.
So the first ear is made and you are ready to work the second one.
Join A with slip st in the 5th st from end of row1 first ear.
Row 1: ch 1, skip one st, sc 6, sc2tog in the next two sts.
Row 2: ch 1, turn, skip one st, sc 4, sc2tog in the next two sts.
Row 3: ch 1, turn, skip one st, sc 2, sc2tog in the next two sts.
Row 4: ch 1, turn, skip one st, sc2tog in the next two sts.
Bow (make 1)
With B, make mc.Row 1: [ch 5, dtr 5, ch5, sl st in mc] 2 times .
Eyes & nose (make 3)
Make ch 2.Round 1 : ch 1, sc in 2nd ch from hook, 3 sc in next ch, turn sideways and continue along other side of the foundation ch, sc in remaining loop of next ch, 2 sc in next ch, slip st in the beg ch.
Spiral (make 9)
With A, make 3.With B, make 6.
Row 1 : ch 30, 2 dc in 4th ch from hook, 3 dc in next 26 chs, ch 2, sl st in first ch.
FINISHING
Attach Bow : attach the bow with B in her appropriate position just under the right ear.
Attach Hello Kitty eyes : place the elements in their appropriate positions (in line with the foundation chain and with leaving 3 stitches after the foundation chain in each side) and join with C and slip st.
Attach Hello Kitty nose : place the element in her appropriate position (one stitch under the foundation chain center point) and join with D and slip st.
Whiskers length : they take 4 stitches.
Whiskers positions : no stitches between whiskers and eyes. You should use three successive stitches which are next to the eyes. The middle whiskers is line with the foundation chain.
Distance between whiskers and the middle one : no stitches between whiskers in the side of eyes. You should use three successive stitches in the side of eyes and skip just one stitch between wiskers in the other side.
Attach spirals : to the bottom stiches 5th round of back face.
Attach faces : Join with B and sc st. Stuff lightly with polyfill.
Weave in ends. Block if necessary.
Charts
Hello Kitty face chart

Spiral chart

Eyes & nose chart

Bow chart


If you have any problem with the pattern please don’t hesitate to contact me!
If you enjoyed this pattern, check out my other patterns & follow me on social media sites: Instagram, Facebook and subscribe for the Newsletter for exclusive deals.
Best wishes to you!


No comments:
Post a Comment