
This backpack is ideal for your little angel. It looks very cute and lovely with spiral hanging decoration ! The design features her favorite character’s face and plenty of interior space for her favorite items.
Being able to take her personal items outside the home with the style that she likes will be a great gift idea. It can be the best birthday present. Any little girl will be amazed with this cute Hello Kitty backpack.
You will find below the pattern of this backpack with which she will feel very happy.


The pattern is free below, or you can purchase the printable, ad-free version from my Ravelry Shop HERE
HELLO KITTY Backpack would be easy to make with this pattern ! Easy-to-follow, explained very well, and certainly will give you a lovely result, charts and step-by-step instructions will help you make your own Hello Kitty Backpack !
You can crochet Hello Kitty Backpack from any other yarn using the referenced hook for that yarn. The only difference will be in size.
Pattern is available in English

A: Champagne White,
B: Blush Pink,
C: Pure Black,
D: Yellow.
♥ Crochet Hook: 3.5 mm,
♥ Scissors,
♥ Needle.
Row 1 : ch 4, tr in 5th ch from hook, tr 104, 8 tr in mc, turn sideways and continue along other side of the foundation ch, tr in remaining loop of each of next 105 chs, turn.
Row 2 : ch 4, tr 105, [2 tr in 1 st] 8 times, tr 105, turn.
Row 3 : ch 4, tr 105, [2 tr in 1 st, tr] 4 times, [tr, 2 tr in 1 st] 4 times, tr 105, turn.
Row 4 : ch 4, tr 105, [tr 2, 2 tr in 1 st] 4 times, [2 tr in 1 st, tr 2] 4 times, tr 105, turn.
Row 5 : ch 4, tr 105, [tr 3, 2 tr in 1 st] 4 times, [2 tr in 1 st, tr 3] 4 times, tr 105, turn.
Row 6 : ch 4, tr 105, [tr 2, 2 tr in 1 st, tr 2] 8 times, tr 105, turn.
Row 7 : ch 4, tr 105, [tr 3, 2 tr in 1 st, tr 2] 4 times, [tr 2, 2 tr in 1 st, tr 3] 4 times, tr 105.
Row 1 : ch 4, tr in 5th ch from hook, tr 35, 8 tr in mc, turn sideways and continue along other side of the foundation ch, tr in remaining loop of each of next 36 chs, turn.
Row 2 : ch 4, tr 36, [2 tr in 1 st] 8 times, tr 36, turn.
Row 3 : ch 4, tr 36, [tr, 2 tr in 1 st] 4 times, [2 tr in 1 st, tr] 4 times, tr 36.
The straps for this backpack are made by creating one long strap and two small tabs.
Round 1 : ch 4, tr in 5th ch from hook, tr 188, 8 tr in last ch, turn sideways and continue along other side of the foundation ch, tr in remaining loop of each of next 189 chs, 7 tr in last ch (in bottom of beg ch4), sl st in top of beg ch4, turn.
Round 2 : ch 4, tr in top of beg ch4 of previous row, [2 tr in 1 st] 7 times, tr 188, [2 tr in 1 st] 8 times, tr 188, sl st in top of beg ch4.
Row1 : sc in the 2nd ch from hook and in each of next 34 chs.
Row1 : sc in the 2nd ch from hook and in each of next 19 chs. check out the link below!
Cute Hello Kitty Free Crochet Pattern
check out the link below!
Cute Hello Kitty Free Crochet Pattern
Attach Backpack panels : Attach each side panel to the front/back panel with Making 96 sl st like shown in the following image.
Attach Strap : Fold the strap in half. Using a yarn needle, tail of yarn in A and the two tabs, sew the strap onto the back of the backpack like shown in the following images.


Attach Hello Kitty Head: Using a yarn needle and tail of yarn in A, sew the Hello Kitty head onto the top front face of the backpack.
Weave in ends. Block if necessary.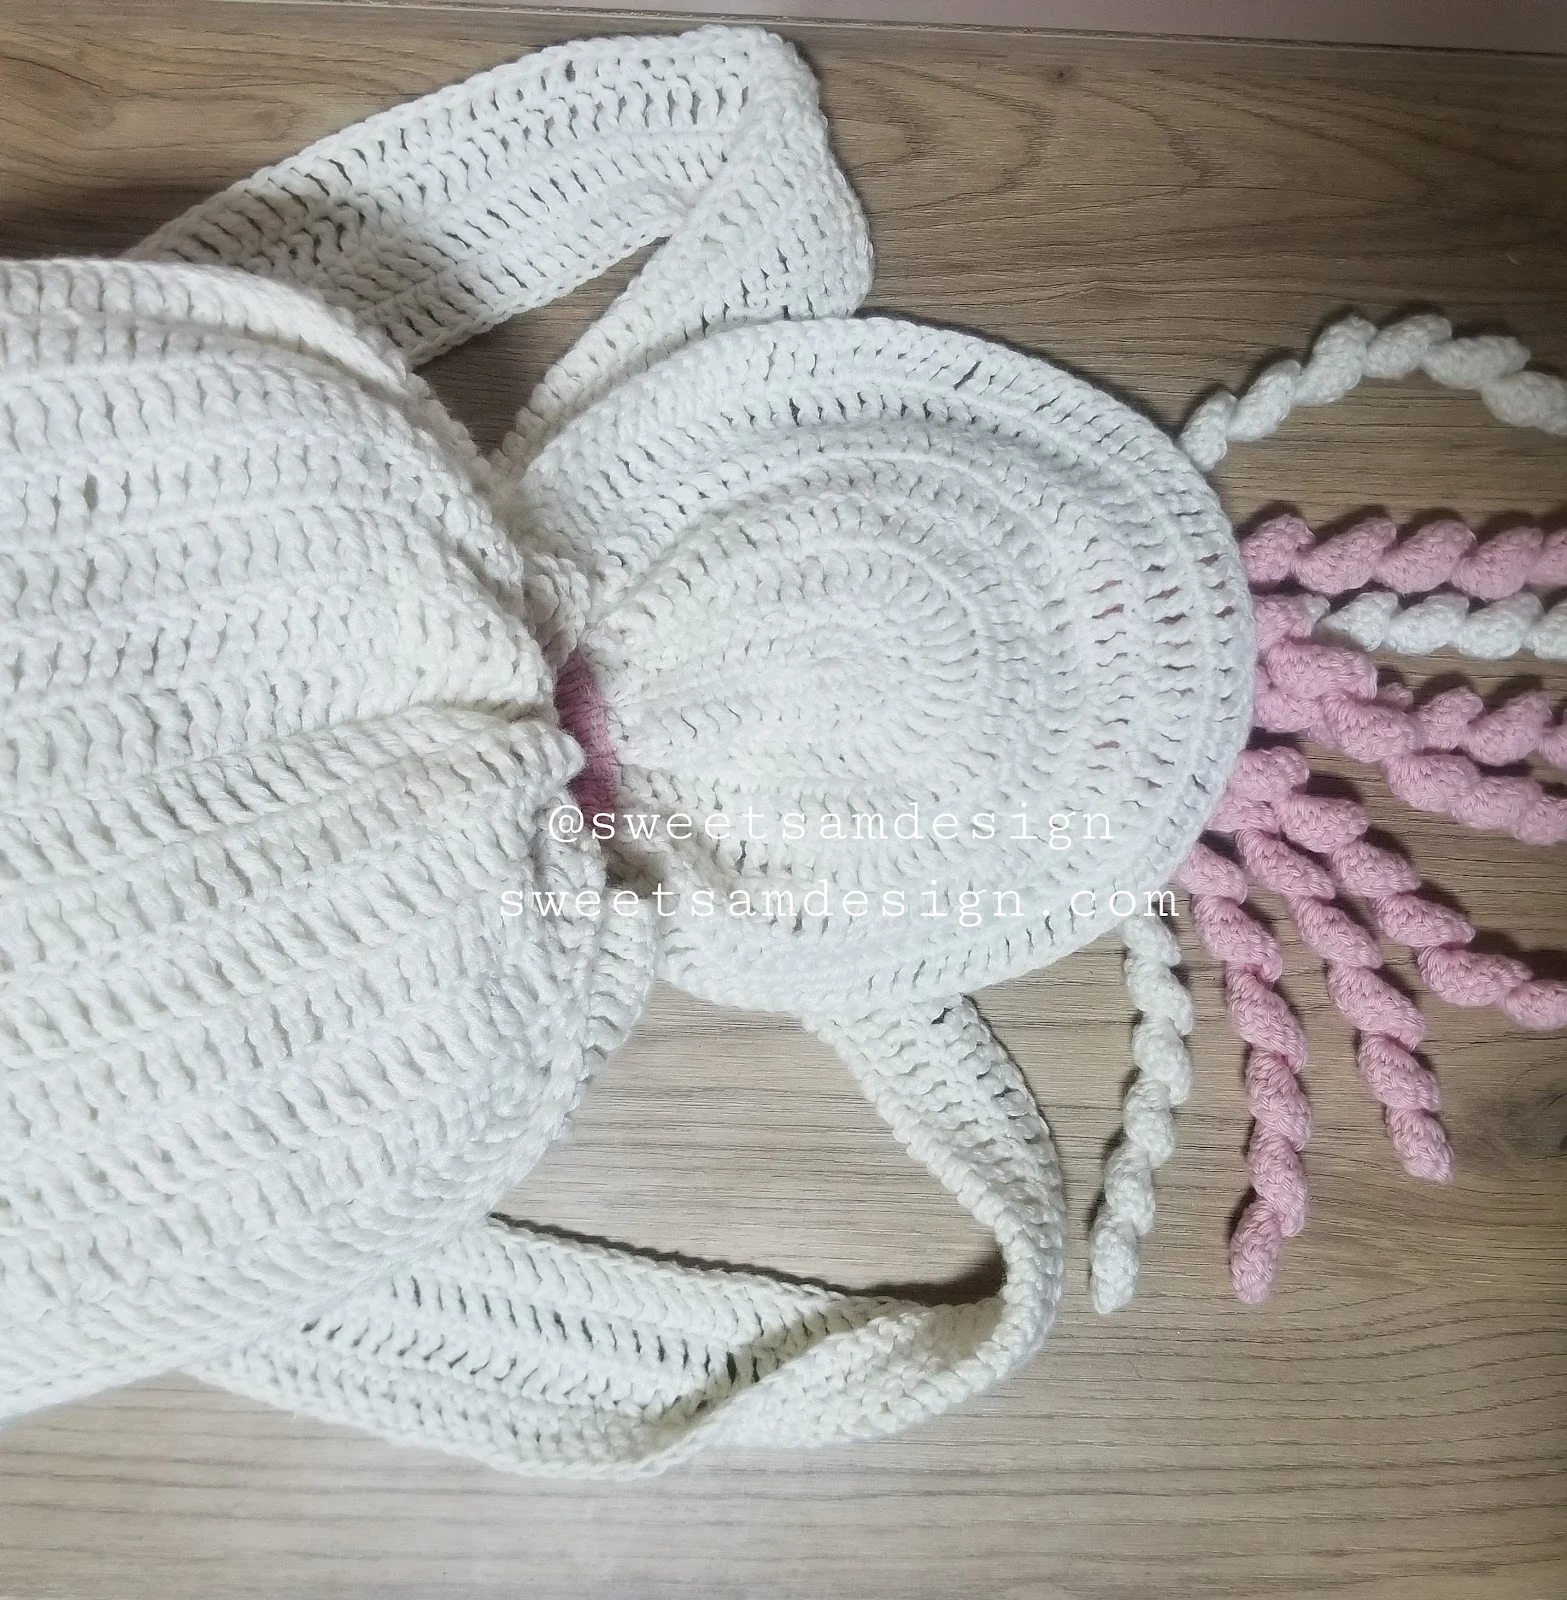


If you have any problem with the pattern please don’t hesitate to contact me!
If you enjoyed this pattern, check out my other patterns & follow me on social media sites: Instagram, Facebook and subscribe for the Newsletter for exclusive deals.
Best wishes to you!
Being able to take her personal items outside the home with the style that she likes will be a great gift idea. It can be the best birthday present. Any little girl will be amazed with this cute Hello Kitty backpack.
You will find below the pattern of this backpack with which she will feel very happy.
The pattern is free below, or you can purchase the printable, ad-free version from my Ravelry Shop HERE
HELLO KITTY Backpack would be easy to make with this pattern ! Easy-to-follow, explained very well, and certainly will give you a lovely result, charts and step-by-step instructions will help you make your own Hello Kitty Backpack !
You can crochet Hello Kitty Backpack from any other yarn using the referenced hook for that yarn. The only difference will be in size.
Pattern is available in English
Size
26 cm long x 20 cm wide x 9.5 cm high.Gauge
19 stitches tr = 4” (10 cm); 7 rows tr = 4” (10 cm).Materials
♥ Yarn: 4 balls of 50g in A, 1 ball in B and small amount of yarn in each color (C&D).A: Champagne White,
B: Blush Pink,
C: Pure Black,
D: Yellow.
♥ Crochet Hook: 3.5 mm,
♥ Scissors,
♥ Needle.
Stitches
Abbreviations
A, B, C, D = Color A, B, C, D; beg = beginning ; st(s) = stitch(es); mc= magic circle; sl st = slip stitch; ch(s) = chain(s); sc = single crochet; sc2tog : single crochet 2 together; dc = double crochet; tr = treble crochet; dtr = double treble crochet; mm = millimeters; cm = centimeters; g= gram; [ ] = work directions in brackets the number of times specified.Written instructions
Backpack front & back panel (make 1)
With A, mc, ch 105,Row 1 : ch 4, tr in 5th ch from hook, tr 104, 8 tr in mc, turn sideways and continue along other side of the foundation ch, tr in remaining loop of each of next 105 chs, turn.
Row 2 : ch 4, tr 105, [2 tr in 1 st] 8 times, tr 105, turn.
Row 3 : ch 4, tr 105, [2 tr in 1 st, tr] 4 times, [tr, 2 tr in 1 st] 4 times, tr 105, turn.
Row 4 : ch 4, tr 105, [tr 2, 2 tr in 1 st] 4 times, [2 tr in 1 st, tr 2] 4 times, tr 105, turn.
Row 5 : ch 4, tr 105, [tr 3, 2 tr in 1 st] 4 times, [2 tr in 1 st, tr 3] 4 times, tr 105, turn.
Row 6 : ch 4, tr 105, [tr 2, 2 tr in 1 st, tr 2] 8 times, tr 105, turn.
Row 7 : ch 4, tr 105, [tr 3, 2 tr in 1 st, tr 2] 4 times, [tr 2, 2 tr in 1 st, tr 3] 4 times, tr 105.
Backpack side panel (make 2)
With A, mc, ch 36,Row 1 : ch 4, tr in 5th ch from hook, tr 35, 8 tr in mc, turn sideways and continue along other side of the foundation ch, tr in remaining loop of each of next 36 chs, turn.
Row 2 : ch 4, tr 36, [2 tr in 1 st] 8 times, tr 36, turn.
Row 3 : ch 4, tr 36, [tr, 2 tr in 1 st] 4 times, [2 tr in 1 st, tr] 4 times, tr 36.
Backpack shoulder strap
Note:The straps for this backpack are made by creating one long strap and two small tabs.
Strap (make 1)
With A, ch 190,Round 1 : ch 4, tr in 5th ch from hook, tr 188, 8 tr in last ch, turn sideways and continue along other side of the foundation ch, tr in remaining loop of each of next 189 chs, 7 tr in last ch (in bottom of beg ch4), sl st in top of beg ch4, turn.
Round 2 : ch 4, tr in top of beg ch4 of previous row, [2 tr in 1 st] 7 times, tr 188, [2 tr in 1 st] 8 times, tr 188, sl st in top of beg ch4.
Tab 1 (make 1)
With A, ch 36,Row1 : sc in the 2nd ch from hook and in each of next 34 chs.
Tab 2 (make 1)
With A, ch 21,Row1 : sc in the 2nd ch from hook and in each of next 19 chs.
Hello Kitty Pattern
FINISHING
Attach Backpack panels : Attach each side panel to the front/back panel with Making 96 sl st like shown in the following image.
Attach Strap : Fold the strap in half. Using a yarn needle, tail of yarn in A and the two tabs, sew the strap onto the back of the backpack like shown in the following images.
Attach Hello Kitty Head: Using a yarn needle and tail of yarn in A, sew the Hello Kitty head onto the top front face of the backpack.
Weave in ends. Block if necessary.
Charts
Front and back panels chart
Side panels chart
Strap chart
Tab 1 chart
Tab 2 chart
If you have any problem with the pattern please don’t hesitate to contact me!
If you enjoyed this pattern, check out my other patterns & follow me on social media sites: Instagram, Facebook and subscribe for the Newsletter for exclusive deals.
Best wishes to you!


No comments:
Post a Comment